Custom-made
A basin from your own stone
Most basins are made from stone I have found myself. Sometimes the right stone is already yours: in your garden, in a corner of your plot or on the shore at your summer cottage.
The stone
What kind of stone
makes a basin
Not every stone makes a basin, because it has to survive being worked. I can’t say for certain from a photo, but I’m happy to give you a rough assessment before either of us has any costs.
- Dense stone
- A hard, dense enough stone will do: granite, gneiss, migmatite, gabbro, diorite, diabase and other similar types. Porous stone absorbs water and is not suitable for a basin.
- No cracks
- A crack that runs through the stone will show by the hollowing stage at the latest. A vein on the surface is fine; a crack is not.
- Large enough
- The boulder has to be clearly larger than the finished basin: stone is removed from both the inside and the outside.
- Movable
- The stone has to be of a weight that can reasonably be moved and handled.

The outline is marked on the stone before anything is removed
How it goes
From first message to finished basin
Step I
Tell me what you’re after
Get in touch by email or phone. Tell me what kind of basin you would like: the dimensions and, if you have one, a wish for the shade. If you already have a stone, send a few photos of it from different sides with something next to it for scale.
Step II
We agree on the work
Once the dimensions and the price are clear, we confirm the order. It is binding, because I find and work the stone specifically for you. Half is paid before I start and half before delivery.
Step III
Finding the stone
I start looking for a stone that matches your wishes. This is the slowest stage of the work, because most of the stones I look at stay where they are. The delivery time is counted from the moment a suitable stone has been found.
Step IV
Progress updates
As the work goes on, I let you know where things stand and send photos. The real shade and pattern of the basin only show during grinding, and the patterns can be a completely different shade from the base. That is the nature of the stone, not a choice, which is why the shade can’t be promised in advance.
Step V
Finishing and a photo
I finish the basin and send you a photo of the result before delivery.
Step VI
Delivery
After that the basin is ready to go. The work usually takes 2–4 weeks from when a suitable stone has been found.
An assessment of your stone costs nothing and commits you to nothing. If the stone won’t do, I’ll tell you straight. A confirmed order, on the other hand, is binding: the stone is found and worked for that order.
Send photos of your stoneThe work
From boulder
to basin
Six stages in working the stone. Stone can’t be rushed: take too much at once and it answers by cracking. A small basin takes a couple of days, a larger one can take more than a week.
- Stage IChoosing the stone
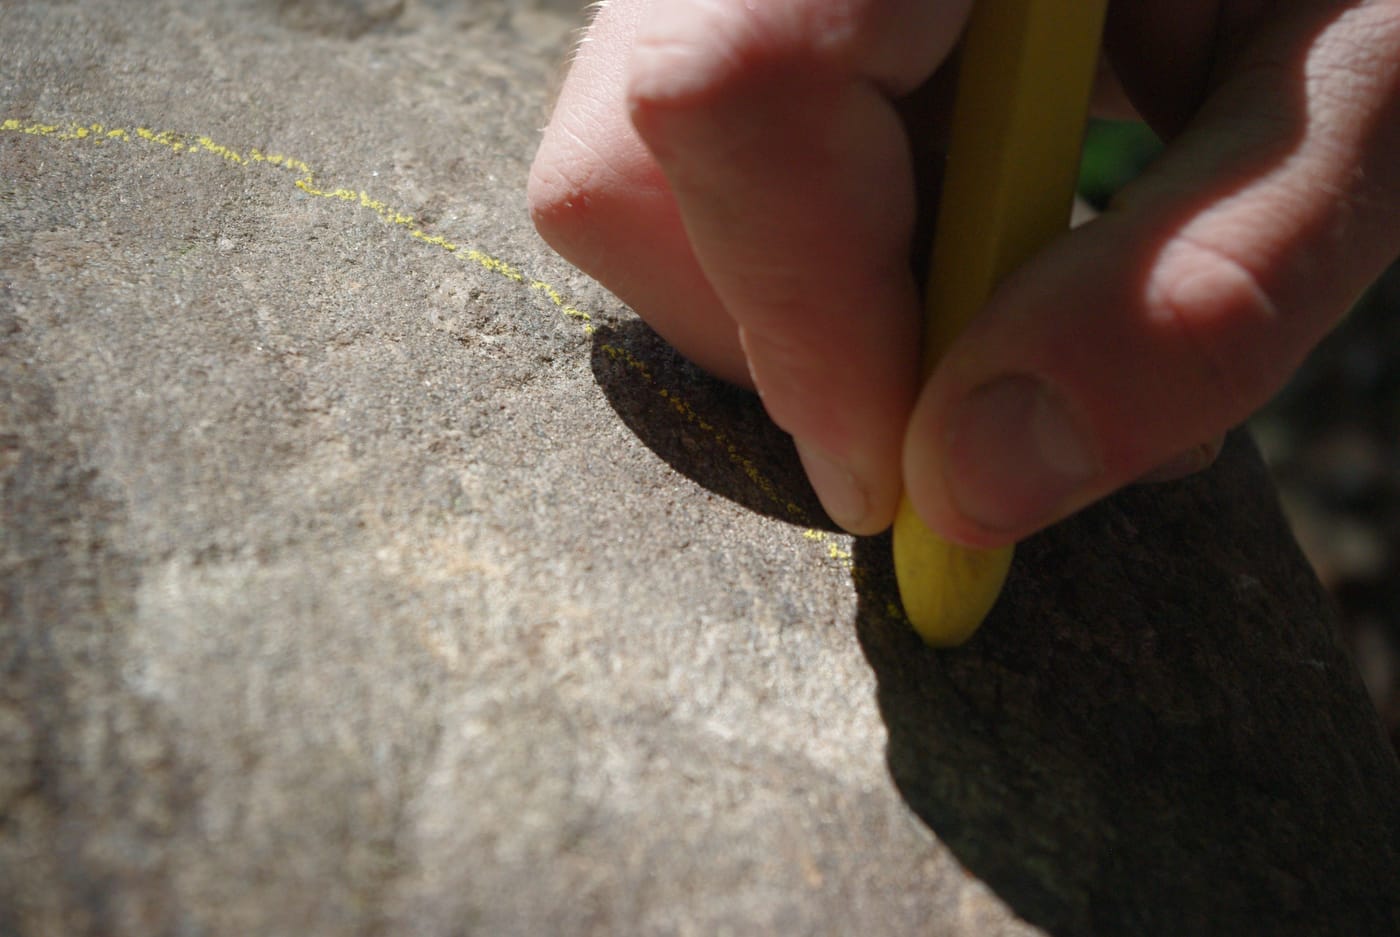
Choosing the stone
Most of the stones I look at stay where they are. A stone has to be dense enough not to absorb water, and it must not have cracks. Once a stone passes, the shape of the basin is sketched onto it.
- Stage IILevelling
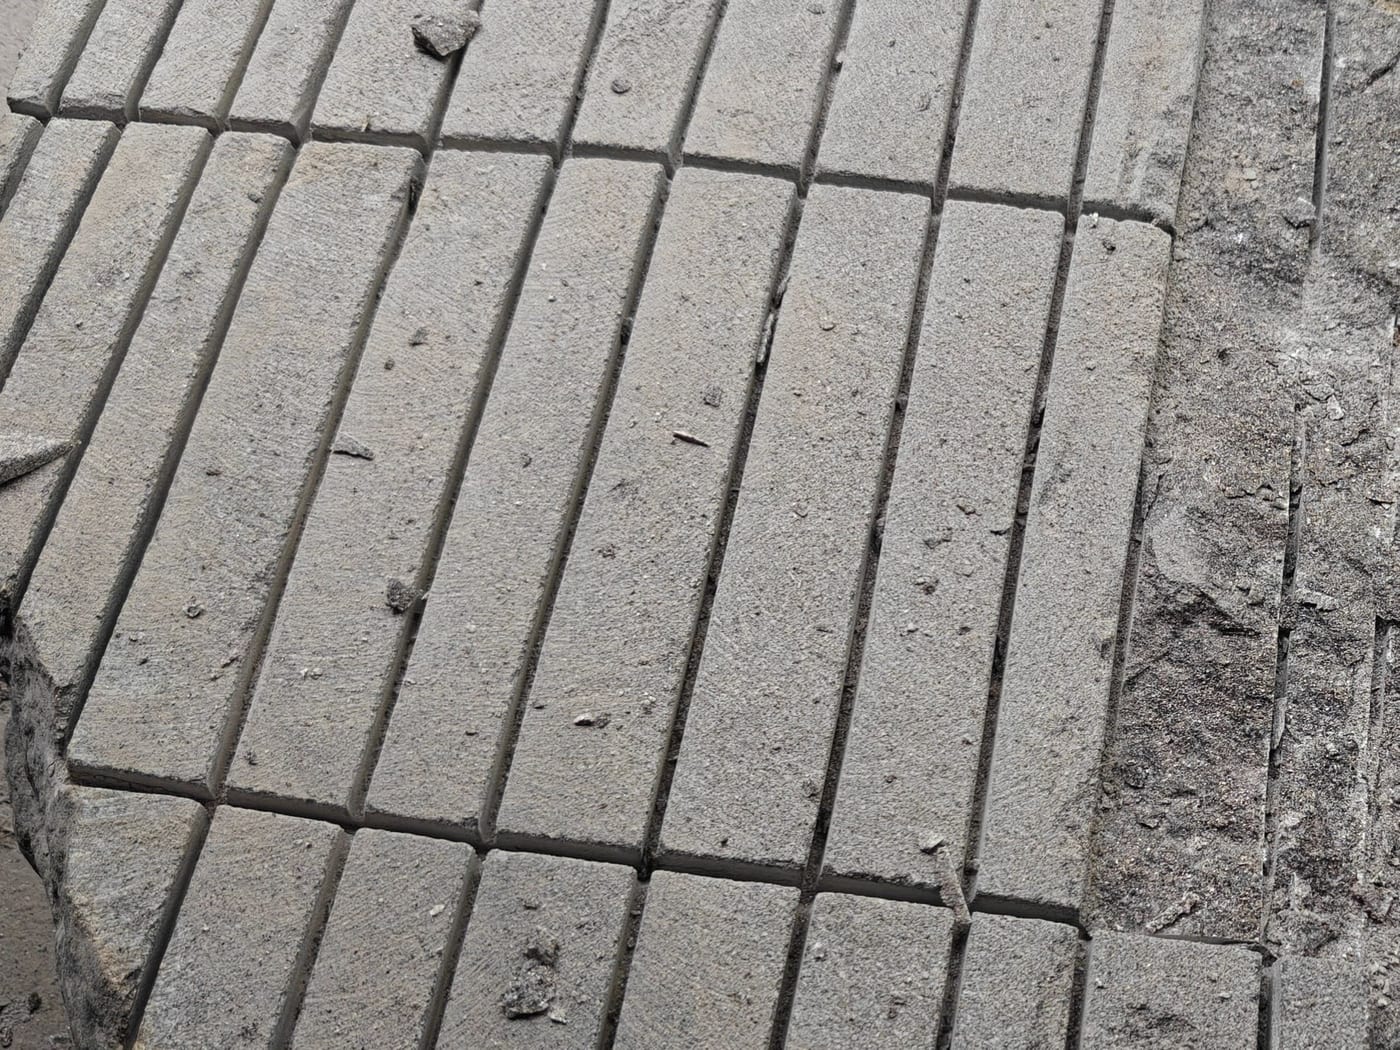
Levelling
Height is taken off the base and the base is levelled. The flat base is the surface the basin will sit on, and it also makes every stage after it more precise.
- Stage IIIHollowing
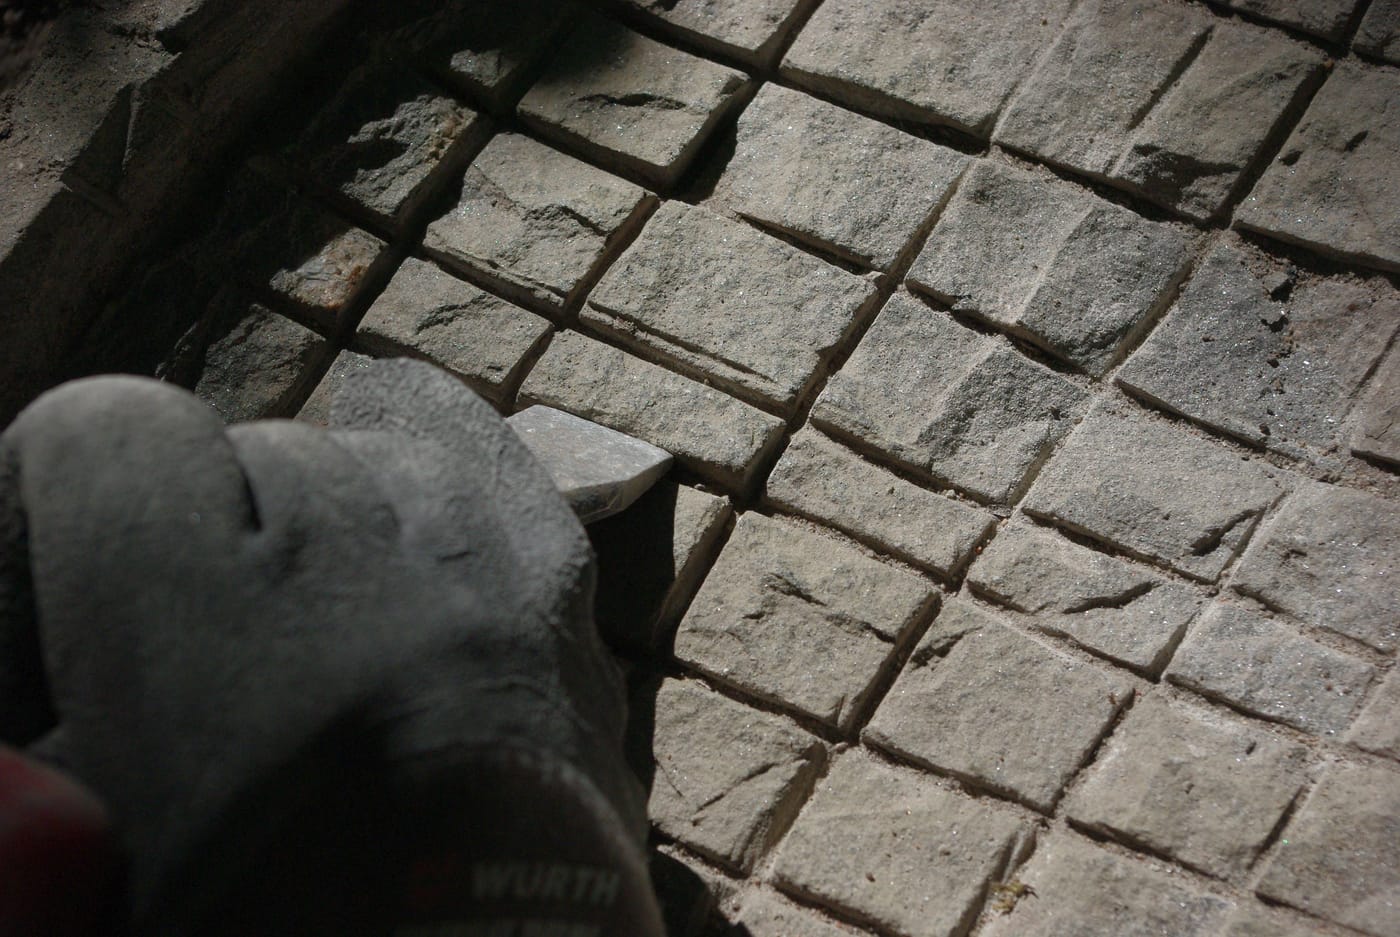
Hollowing
The shape of the basin is cut with a diamond blade, and then the bowl is hollowed out by hand with a chisel, piece by piece. This is the slowest and heaviest stage: one chisel blow in the wrong place splits the stone. The broken basins are kept at the workshop as a reminder.
- Stage IVGrinding and polishing
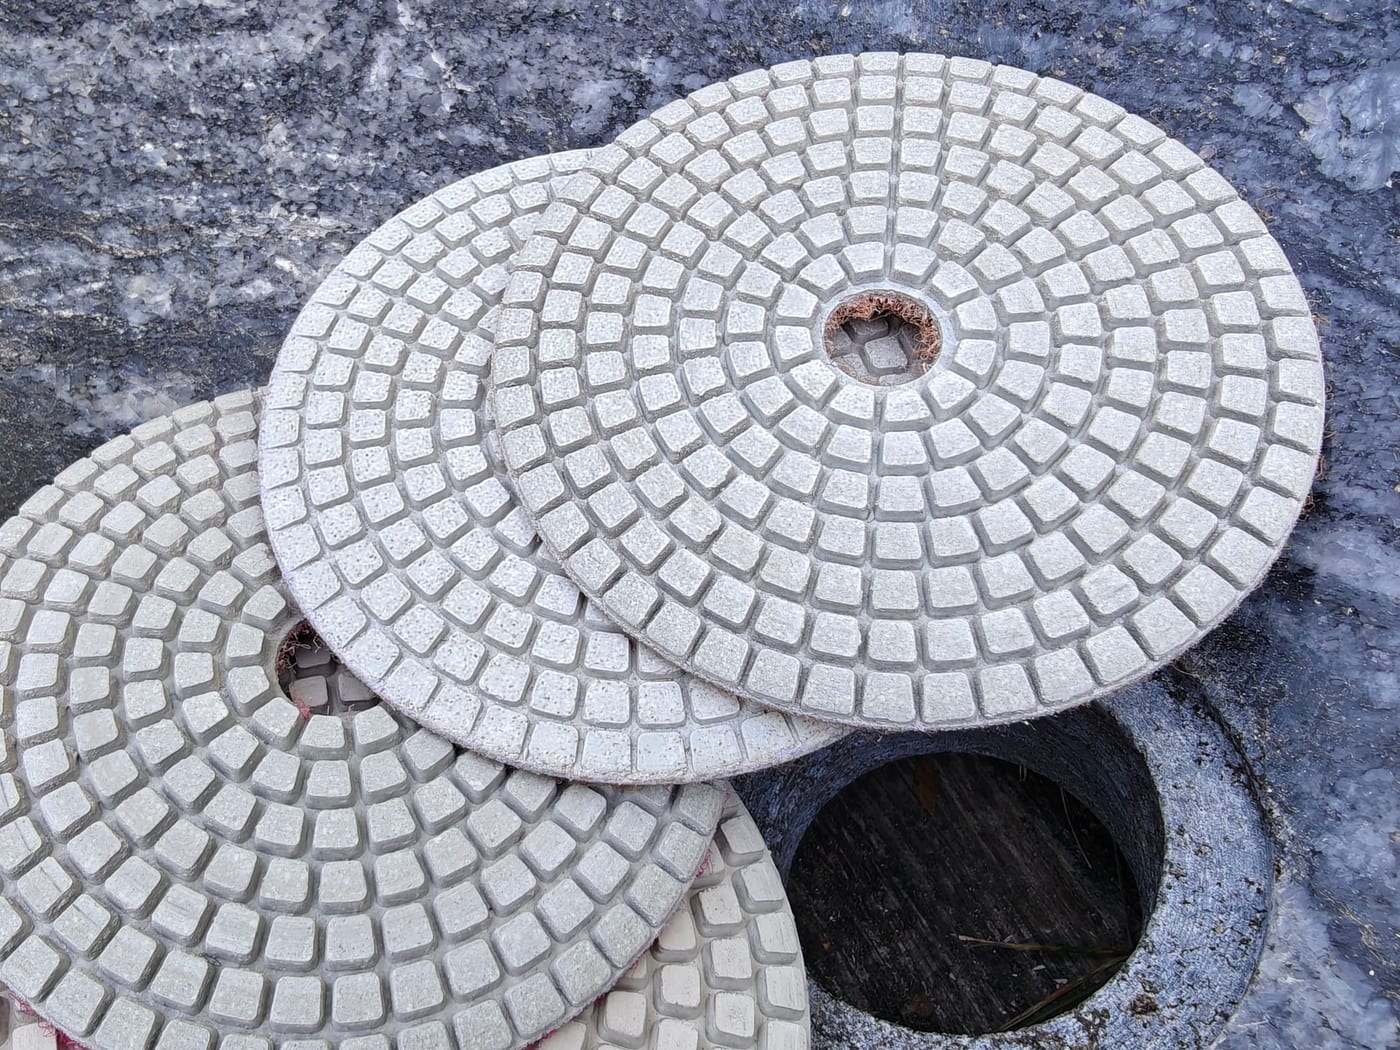
Grinding and polishing
The chisel marks are ground away and the surface is checked from every side. Polishing goes from coarse to fine, from 50 grit to 3000 grit, finished with tin oxide where needed. This is where the raw stone turns smooth and its own colours first come through.
- Stage VMineral cleaning
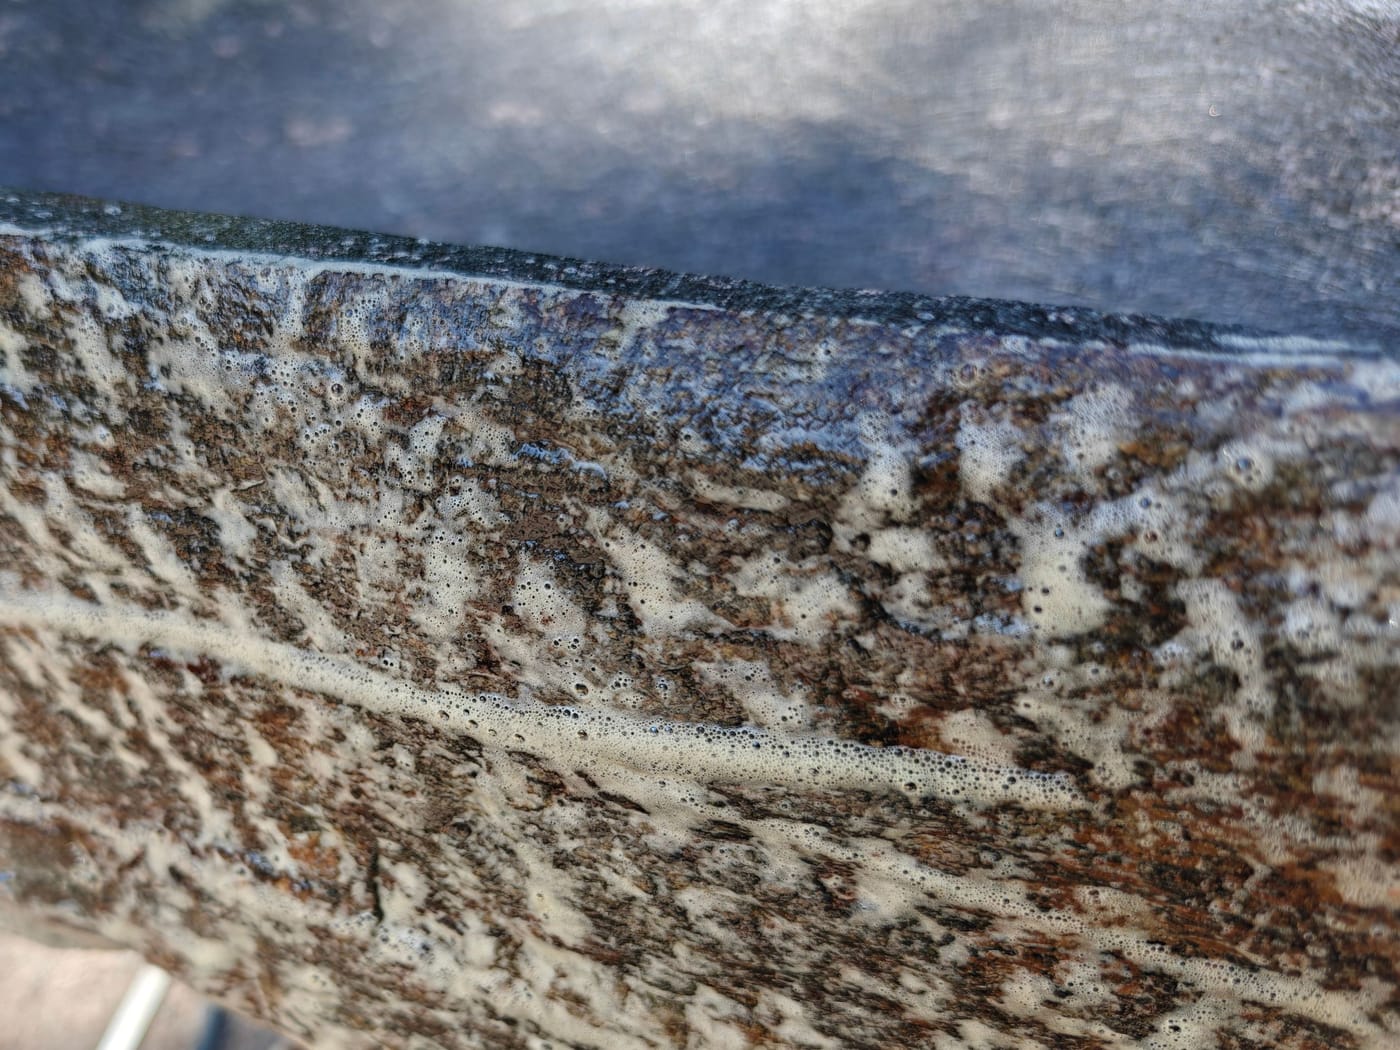
Mineral cleaning
The outer surface of the stone is cleaned of mineral residue. This stage does not change the stone, it reveals it: after cleaning, the stone’s own shades and patterns show on the outer surface too, which is left clean and natural.
- Stage VIFinishing
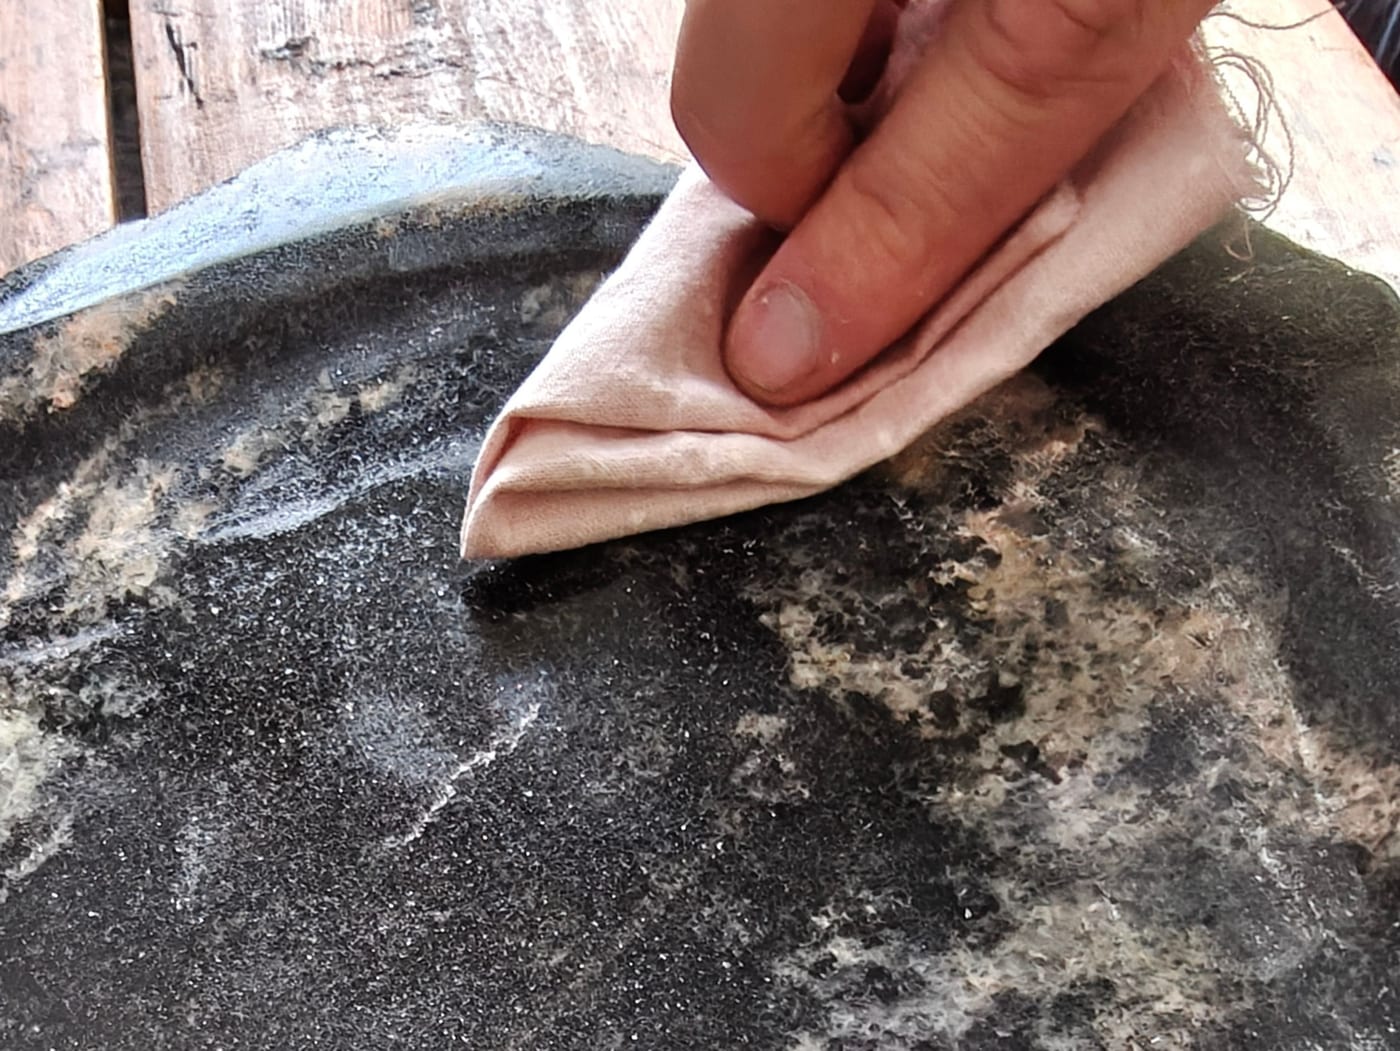
Finishing
The drain hole is drilled, the maker’s mark is sandblasted into the basin and the surfaces are sealed. The sealant is a professional product that is food-safe once cured and gives the stone a wet-look finish. Nothing is painted or covered.


Finished work

Pale stone, bluish speckles

Banded pale stone from above

Rough outer surface, polished inside
— Nikolas
See the ready-made basinsSend photos of your stone.
A few photos from different sides with something next to it for scale are enough. I’ll tell you straight whether it can become a basin. If you don’t have a stone yet, I’ll find one.